Add templates in marks
You can create custom graphical templates (.tpl) with Template Editor and add them as elements in all types of marks, dimension marks and associative notes in all drawing types.
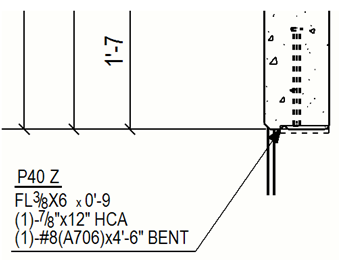
In mark templates, you can include detailed information of an embed or assembly, such as the sub-material used. Or you can use a template that changes the unit and the number of decimals in measurement values in a mark. You can also add graphical objects using the Template Editor tools.
To add templates in dimension marks or tags, you need to modify the Dimension Properties in an open drawing. You can save the dimension properties, and then take the saved properties into use when you create automatic dimensions.
The size of the templates in part marks is calculated according to the actual size of template contents. Only lines and texts in the template are considered when calculating the exact size. This means, for example, that circles or bitmaps in the template do not have any effect.
Limitations: Mark templates do not support image files like the other graphical drawing templates.
Before you add a template in a mark, ensure that the template you use does not contain any margins.
The mark templates are by default searched from the following folders in the following order:
%XS_TEMPLATE_DIRECTORY%\mark
ModelDir\mark
%XS_PROJECT%\mark
%XS_FIRM%\mark
%XS_TEMPLATE_DIRECTORY_SYSTEM%\mark
%XS_SYSTEM%\mark
The mark folder name can be changed using the advanced option
XS_TEMPLATE_MARK_SUB_DIRECTORY
Example

For more information about templates in marks, see the following examples:
Example 1: Create a mark template containing separate value fields and text elements
Example 2: Create a mark template containing a formula in the value field